How to Melt Chocolate in the Microwave Without Burning It
Melting chocolate can feel intimidating, but it doesn’t have to be!
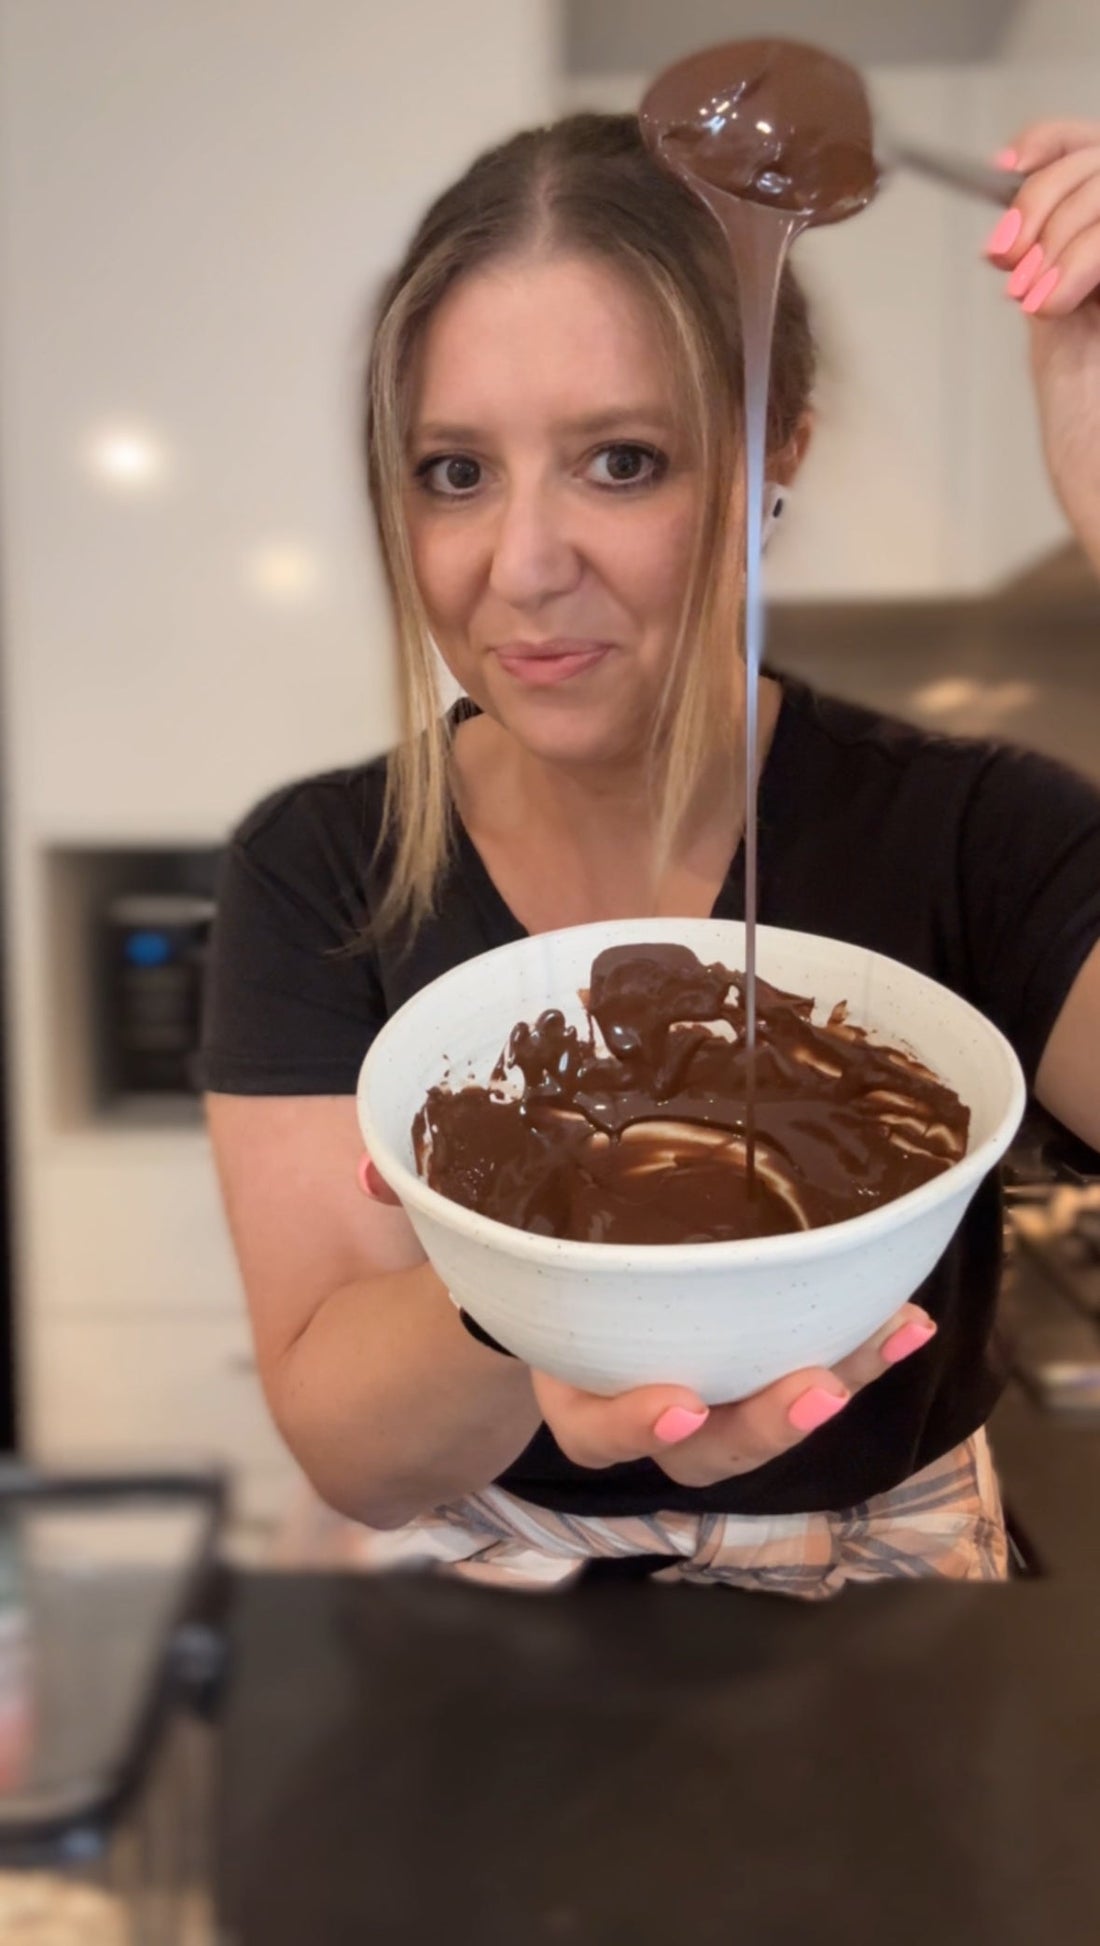
As a baker, I’ve perfected an easy method to melt chocolate in the microwave that gives me silky, smooth results every time—without using a double boiler or chopping the chocolate (yes, less mess!). If you’ve ever ended up with burnt chocolate or a lumpy mess, this step-by-step guide is for you. Let’s dive into how to melt chocolate quickly, safely, and effortlessly in the microwave with minimal effort or clean up.
Why the Microwave?
I know, I know—some bakers might roll their eyes at the microwave. But let’s be honest, sometimes we need convenience, and the microwave offers just that. With the right technique, you’ll get perfectly melted chocolate without any burnt bits.
What You’ll Need:
- Chocolate of your choice (broken into it's individual pieces, no chopping required!)
- A microwave-safe ceramic or glass bowl (avoid plastic, as it can retain heat unevenly and get hot without melting the chocolate as well)
Step-by-Step Instructions:
-
Break the Chocolate into Pieces: No need to chop your chocolate; simply break it into it's small individual pieces and place them in your microwave-safe bowl.
-
Microwave in 30-Second Bursts: Heat the chocolate for 30 seconds, then take it out and give it a good thorough stir. The residual heat in the bowl helps melt the chocolate, so stirring is needed here and helps to melt your chocolate easier without burning it.
-
Repeat and Stir: Put the bowl back into the microwave for another 30 seconds. Stir again. At this point, your chocolate will start to melt. Depending on the type of chocolate and your microwave’s power, it usually takes 1 to 1.5 minutes. If its nearly melted through after 1 minute keep mixing your chocolate well and it should finish metling
-
Finish with 10-Second Bursts: If the chocolate is mostly melted but you see a few small lumps, microwave it for 10-second bursts, stirring well after each interval. This prevents overheating and ensures a silky-smooth consistency. My chocolate took 1 minute and 15 seconds. The key is to mix well in-between each addition to reduce the amount of time you need to put it in the microwave.
Tips for Success:
- Don’t Overheat: Resist the temptation to microwave for long intervals. Overheating will cause your chocolate to seize or burn.
- Stir Between Intervals: Mixing helps to melt the chocolate with the residual heat of the bowl to melt evenly and without having to put it in the microwave too long.
Why This Method Works:
The key to melting chocolate without burning it is short bursts and consistent stirring. The 30-second bursts allow for gradual, even heating, while stirring ensures the heat spreads throughout the chocolate.
Perfectly Melted Chocolate, Every Time!
And there you have it—deliciously smooth, glossy chocolate ready for dipping, drizzling, or baking. Whether you’re making brownies, cupcakes, or chocolate-dipped strawberries, this microwave method is a game-changer for busy bakers. If you’ve got questions or want more tips, feel free to ask!
And don’t forget to follow @bakeitbygiovannellis for more Baking Basics and kitchen hacks.